guides
How to Sand Curves with a Spindle Sander
A spindle sander is useful for refining a curved edge after rough shaping, especially when the curve turns inward. The cylinder must fit the geometry, the work needs a stable support face, and the feed path must preserve the whole outline. A good result is more than the absence of saw marks: adjacent curve sections should blend without flats or hollows, and the edge should maintain its intended angle. Use this guide to plan that result before selecting a sleeve.
As an Amazon Associate I earn from qualifying purchases. How affiliate links work.
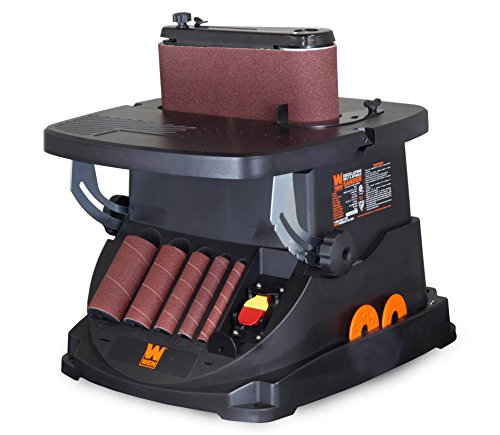 WEN 6524 Oscillating Belt and Spindle SanderCheck Amazon offer
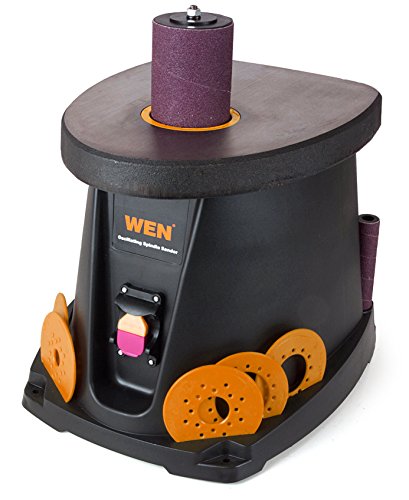 WEN 6510T 3.5 Amp Oscillating Spindle Sander,BlackCheck Amazon offer
Establish a readable target
Draw the finished outline clearly and decide which side of the line represents the final dimension. If the line is thick or inconsistent, it introduces uncertainty that no sanding technique can remove. For a repeated component, use the appropriate drawing or template as a reference. Mark orientation and reference faces so the part is not evaluated upside down or against the wrong edge. A clear target helps separate actual high spots from visual distractions such as contrasting grain. Do not rely solely on the rough-cut edge as a guide to the intended curve.
If the blank has not been cut yet, the benchtop bandsaw comparison for curves and small parts helps you compare blade and work-support requirements for the earlier operation. Plan the rough cut and sanding allowance together instead of using the abrasive to remove all of the surrounding waste.
Choose diameter by the tightest section
Look at the smallest concave radius and the transitions into it. Select an approved sleeve that reaches the required area with workable clearance. For broad hollows, a larger fitting sleeve can make it easier to avoid digging a small depression. For tighter details, a smaller diameter may be necessary, but it requires deliberate attention to how much material is removed locally. If the profile includes several substantially different radii, plan separate setups instead of forcing one sleeve to handle every area. Each change should preserve a visible reference for blending the sections.
Translate the diameter choice into the complete model-specific stack before starting. The current Grizzly G0739 manual lists six sleeve diameters from 1/2 through 3 inches, but the 1/2-inch sleeve mounts without a rubber drum while every size still has a specified insert and washer arrangement. Grizzly requires the matching insert that keeps the table gap as small as possible. A sleeve that matches a radius is therefore only the first check; the approved drum, insert, washer and usable work support must all match too. Do not borrow that six-size package or hardware sequence for another machine.
Use a project-fit stoplight before machine sanding
A broad concave bracket edge with a flat reference face is a strong spindle-sander candidate when an approved sleeve fits and the blank stays supported through the sweep. A long rail becomes conditional: map its full rotation around the spindle and provide only the support the exact manual allows. A tiny loose part, an unsupported tip, a blind recess, or a curve tighter than every approved assembly is a stop condition rather than a reason to improvise. Outside curves may be possible, but a belt, disc or shaped hand block can offer more appropriate contact depending on the edge. Choose the process from access, support and control—not from the fact that the outline is curved.
Prepare an even allowance
Rough-cut outside the target using a suitable cutting method. The exact allowance depends on the cutting accuracy, material, and final tolerances, so avoid treating a single dimension as a rule for every project. The objective is enough material for cleanup without leaving large isolated bulges. An even margin supports a more continuous sanding movement and reduces the temptation to linger. Where a saw has wandered inside the final line, recognize the limitation immediately. Sanding cannot replace missing material, and reshaping the entire profile may conflict with the design or mating part.
Guide the complete curve
Keep the reference face supported and feed according to the machine's instructions at the active contact point. Follow the planned contour in manageable passes. Avoid treating each remaining saw mark as a separate target to erase at any cost, because doing so can make the edge wavy. After a pass, inspect the outline with the machine stopped and the part clear. A flexible visual comparison or the original template may reveal a flat that the fingers miss. Check where one section joins the next; a smooth patch with an abrupt transition still leaves an uneven curve.
Preserve the intended edge angle
A curve can look correct from above while its edge leans or rounds over. Check both the outline and the angle to the reference face. Debris under the work, a rocking blank, or inconsistent pressure can change the contact along the edge height. Correct the support condition before removing more material. For a deliberate bevel, verify that the machine's permitted table setup and the part geometry allow the operation. A scale reading alone does not establish that a compound profile has the required angle everywhere along its length.
Blend the final surface without losing shape
Once the profile is correct, refine the scratch pattern using an appropriate progression and inspect between stages. Every abrasive stage still removes material, so reduce the ambition of each pass as the allowance disappears. A shaped hand block can be useful for final blending where it better preserves the intended radius. Keep templates and finished reference parts away from accidental abrasive contact. For repeated work, record which diameters addressed each section and where manual finishing was needed. Use those setup notes on the next batch, then check each hand-guided part against the same dimensional reference.
Questions about How to Sand Curves with a Spindle Sander
Can a spindle sander sand outside curves?
Yes, when the part can be supported and controlled. Its distinctive advantage is access to inward curves that flat sanding surfaces cannot follow.
Should I use the smallest sleeve for every curve?
No. A small sleeve reaches tight curves but concentrates contact. Choose a fitting approved diameter appropriate to the local geometry.
How do I avoid flat spots?
Use a clear reference outline, a consistent rough allowance, controlled passes, and frequent stopped inspection of the complete curve.