guides
Sanding Inside Holes and Cutouts
A spindle sander can refine an internal opening when the approved sleeve assembly fits with adequate working clearance and the surrounding blank can be controlled on the table. It is useful for cleaning a rough cutout, but it is not a precision boring machine. The entire workpiece must have room to move around the spindle. Before starting, consider the opening, its narrowest point, the strength of the surrounding material, and the path your hands would need to follow.
As an Amazon Associate I earn from qualifying purchases. How affiliate links work.
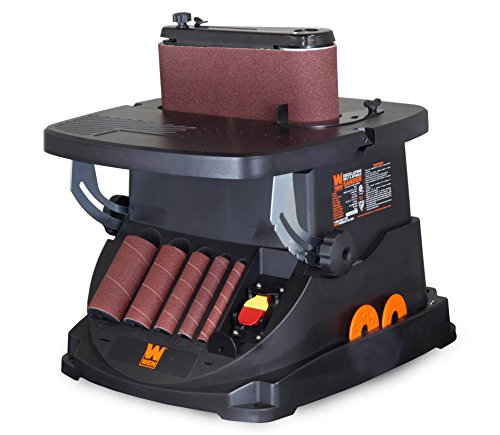 WEN 6524 Oscillating Belt and Spindle SanderCheck Amazon offer
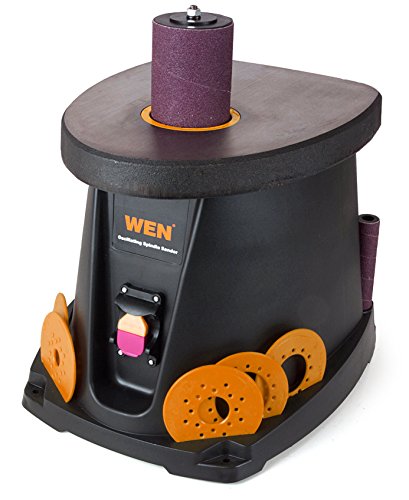 WEN 6510T 3.5 Amp Oscillating Spindle Sander,BlackCheck Amazon offer
Decide whether the opening is accessible
An enclosed through-opening is different from a blind recess. A through-opening may pass over the spindle assembly as described in the manual, while a pocket may not provide access or support. Check the usable sleeve height against the edge that needs sanding and ensure the work does not contact retaining hardware. Do not remove required parts to gain access. If the desired opening cannot accommodate an approved assembly with clearance for controlled movement, select another method. After checking that the assembly enters the opening, check that the entire blank can travel through the planned sanding path.
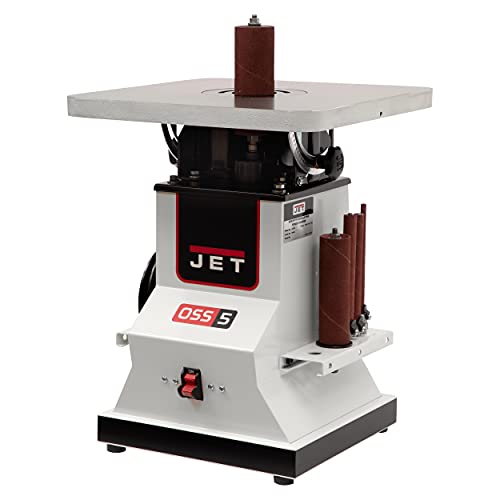
Size the opening around the full installed assembly, not the sleeve's nominal diameter alone. On the G0739, the 1/2-inch sleeve fits directly on the spindle, while the larger sizes add a rubber drum; each size has a corresponding insert and washer listed by Grizzly. The nut, washer, oscillating travel and table opening remain part of the setup. This guide does not publish a universal minimum hole diameter because the required clearance changes with the exact machine, hardware stack, opening shape and path of the surrounding blank.
Apply the same support and feed rules inside the cutout
The G0739 manual requires the workpiece to remain supported on the table, held with both hands, guided against drum rotation and fed with light pressure. Those requirements do not disappear when the contact point moves inside an opening. Before power is connected, identify where both hands can remain clear for the entire perimeter and where the blank will still sit flat. If the opening traps the assembly, the part loses support, the feed path would reverse into rotation, or the hands cannot stay clear, stop and choose another method. Never remove the matching insert merely to make an opening pass over the spindle.
Avoid treating the sleeve as a sizing mandrel
A sleeve that nearly fills a round hole may seem like a convenient way to make the hole perfectly circular. In practice, a close fit can restrict feed and create contact over too much of the circumference. Hand-guided sanding also does not establish the hole's center or diameter precisely. If a bore must fit a bearing, dowel, or other accurately sized component, use a process designed to establish that geometry. Sanding may be suitable for limited cleanup afterward, but it should not be assumed to correct positional or roundness errors automatically.
Inspect the material around the opening
A narrow bridge between a cutout and the outside edge can flex or break. Voids, loose laminations, knots, and existing cracks can further reduce support. Consider whether the opening should be finished while the blank is still larger, before the final exterior shape is cut. That sequence may preserve useful handling area, but it must still follow the machine's permitted operation. Do not attempt to support a fragile section by placing fingers close to the abrasive. If the work cannot be controlled with appropriate clearance, use a suitable holding solution or a different process.
Rehearse the full perimeter movement
With power isolated, walk the blank through the intended positions without contacting the abrasive unnecessarily. Check the outer perimeter against the housing, bench, hose, and nearby objects. A long oval opening may fit comfortably around the sleeve while the ends of the board collide with the surroundings. Identify those obstructions before startup. Reconsider feed direction as the contact point changes around the inside edge. A motion that opposed rotation on an outside profile may not be correct at the new contact location. Use the manual's direction diagram and the actual setup.
Preserve the intended opening shape
Mark the final boundary and leave a sensible, consistent allowance after cutting. Refine the opening in sections that blend smoothly, inspecting the stopped work against the drawing or template. Measure any dimensions that matter for fit. Do not remove an entire side simply because one short portion still shows a cutting mark. When a defect extends past the intended boundary, decide whether the part can be accepted, repaired appropriately, or remade. Sanding the opening larger until every mark disappears may create a clean surface with an unusable fit.
Finish edges with the next operation in mind
If the opening receives hardware, a removable insert, or a decorative panel, test that relationship without forcing parts together. If it remains exposed, inspect both faces for chipped corners and uneven rounding. A final hand-sanding step may provide more control around delicate lips or narrow details. Remove dust before judging the surface, using the approved collection and cleaning method. Keep the template or mating component available for the final check. Inspect the full perimeter before assembly hides the internal edge, including the areas that were hardest to see while sanding.
Questions about Sanding Inside Holes and Cutouts
Can I enlarge a hole with a spindle sander?
It can remove material from an accessible opening, but hand-guided sanding does not guarantee a precise diameter, center, or roundness.
Should the sleeve nearly fill the hole?
Allow the working clearance required for a controlled approved operation. A tight fit can restrict movement and create undesirable contact around the sleeve.
Can it sand a blind pocket?
Usually the vertical through-table arrangement is unsuitable for a blind recess. Check the actual tool design and choose a method intended for that access problem.