guides
Spindle Sander Safety: Support, Feed, and Isolation
A spindle sander exposes a moving abrasive and a changing gap around its sleeve, so safe operation depends on preparation and control rather than on the tool appearing compact or slow. Read the exact manual, obtain appropriate training, and use the required protective equipment. Evaluate each workpiece for support, clearance, material suitability, and a workable feed path. This page highlights planning questions and stopping points; it does not replace the manufacturer’s complete instructions or the procedures of your workplace.
As an Amazon Associate I earn from qualifying purchases. How affiliate links work.
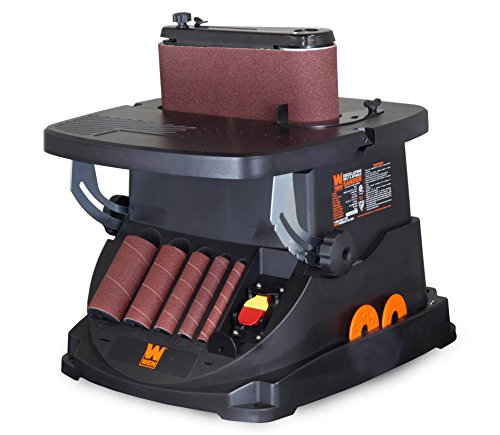 WEN 6524 Oscillating Belt and Spindle SanderCheck Amazon offer
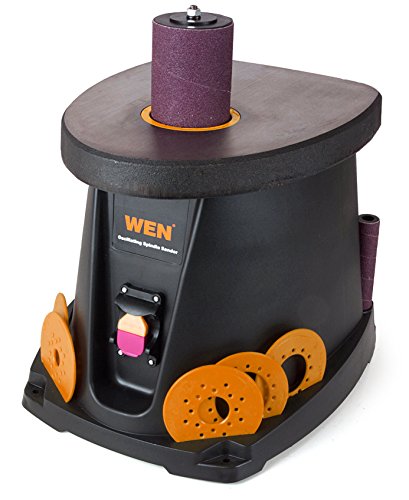 WEN 6510T 3.5 Amp Oscillating Spindle Sander,BlackCheck Amazon offer
Begin with a task that fits the machine
A supported curved edge is a different operation from holding a tiny loose detail against the sleeve or trying to reach a blind cavity. Check the permitted materials, workpiece limits, and approved accessories in the manual. Consider whether the entire blank can move through the intended path without rocking, flexing, or striking nearby objects. If the final part is too small, an earlier production stage may preserve handling area, but the revised operation still needs assessment. Do not regard a successful demonstration by someone else as evidence that an awkward setup is appropriate.
Prepare the person and the surroundings
Arrange a clear working area, adequate lighting, and a stable stance. CCOHS advises against loose clothing, jewelry, and gloves around woodworking machinery where entanglement can occur. Secure hair and follow the required eye, hearing, and respiratory protection guidance. Avoid operating while distracted or unable to maintain attention. Consider who else may enter the area and whether their movement could interrupt the work. Resolve snag hazards, likely interruptions, and footing problems before starting a pass, while your hands are clear of the rotating abrasive.
Use the complete approved assembly
With power isolated, install the specified sleeve, support drum if required, insert, and retaining hardware. Keep the gap around the abrasive consistent with the manufacturer's insert selection. Remove wrenches and spare parts from the table before startup. Inspect for torn abrasive and damaged components rather than assuming a sleeve that still fits is serviceable. An incorrect assembly can create a hazard before the workpiece ever touches it. If parts are missing or their identity is uncertain, resolve that uncertainty with the manufacturer instead of substituting hardware that merely appears to fit.
Plan hand clearance and feed together
A feed path is only useful if the work stays supported and hands remain clear throughout it. Rehearse the movement with the machine disconnected, paying attention to internal cutouts and narrow sections. Follow the model's direction instructions at the actual contact point around the sleeve. If a required hand repositioning would become awkward near the abrasive, change the sequence or method before starting. Do not use gloves to compensate for close contact, and do not push a small part into a position where loss of grip would send fingers toward the sleeve.
Stop for abnormal behavior
A loose sleeve, unexpected vibration, scraping, loss of oscillation, or sudden change in cutting behavior deserves an immediate stop. Wait for motion to cease and disconnect power before permitted inspection or adjustment. Do not continue simply because only one small area remains unfinished. Likewise, do not expose internal moving parts or defeat guards to observe a fault. Gather the model information and a clear description, then use the approved troubleshooting route. A safe recovery returns the machine to a documented normal condition instead of accepting a workaround whose effects have not been established.
Include shutdown and cleanup in the operation
Keep extraction operating as instructed during sanding and follow the equipment's shutdown sequence. Wait for complete stop before leaving the machine or handling components near the abrasive. Isolate power for sleeve changes, adjustments, and cleaning that requires it. Clean using the approved method so dust is not merely redistributed around the shop. Record defects and prevent unintended use of an unresolved machine. Before the next session, the operator should be able to identify the correct accessories, see any recorded faults, and use a clean, unobstructed work area.
Questions about Spindle Sander Safety: Support, Feed, and Isolation
Should I wear gloves while spindle sanding?
No gloves around the rotating spindle where they can become entangled. Follow the machine’s apparel and protective-equipment requirements.
Is switching off enough before an adjustment?
Disconnect the power source and follow any additional required isolation procedure. The switch alone does not prevent unintended startup.
What should make me stop immediately?
Loss of control, abnormal noise or vibration, a moving or damaged sleeve, missing oscillation, and any condition that conflicts with the approved operation.