guides
How to Change a Spindle Sander Sleeve
To change a spindle-sander sleeve, disconnect the machine from power and follow its exact disassembly and installation sequence. Many benchtop designs retain a sleeve over a rubber drum using specified washers and a nut, but arrangements differ and the smallest sleeve may mount differently. Match the replacement sleeve with its specified drum, insert, and retaining hardware. A sleeve change is also a good opportunity to inspect the parts that determine whether the abrasive runs securely and evenly.
As an Amazon Associate I earn from qualifying purchases. How affiliate links work.
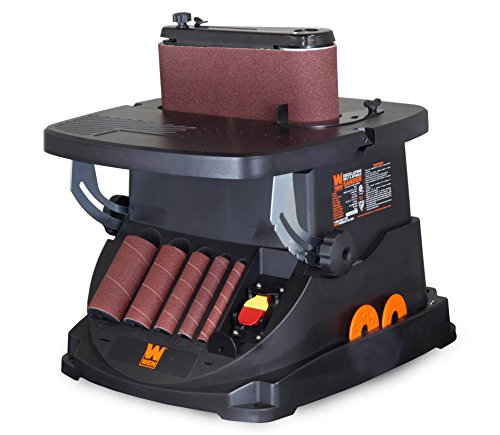 WEN 6524 Oscillating Belt and Spindle SanderCheck Amazon offer
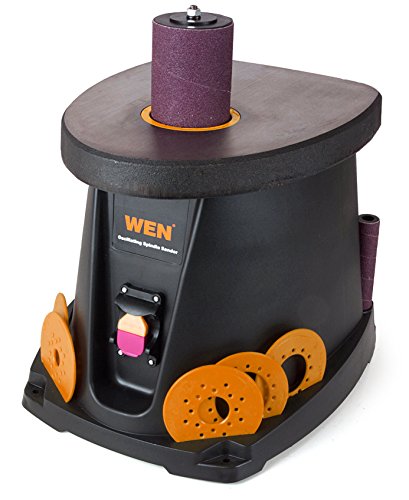 WEN 6510T 3.5 Amp Oscillating Spindle Sander,BlackCheck Amazon offer
Identify why the sleeve is changing
A diameter change solves an access or contact-geometry problem. A grit change advances the finish. Replacement addresses wear, loading, damage, or poor fit. Distinguish these reasons before ordering or installing another sleeve. If an abrasive tears because the assembly is incorrect, simply fitting a new one will not resolve the underlying fault. If the outline is already near its final dimension, changing to a fresh aggressive sleeve may remove more material than expected. Know the next objective so the replacement suits both the machine and the remaining allowance on the workpiece.
Isolate and organize before loosening parts
Switch off, allow motion to stop, disconnect the power source, and use any additional isolation procedure required by the workplace and manual. Set out a clean place for the retaining hardware. Note the installed arrangement and compare it with the correct diagram rather than relying on memory, especially on a recently acquired used machine. A photograph can help preserve the order for discussion, but an incorrectly assembled original is not a valid reference. If the observed parts disagree with the manual, resolve the discrepancy before copying the same configuration.
Inspect the drum and sleeve interface
After removing the abrasive by the prescribed method, inspect accessible components for cracks, distortion, contamination, and obvious wear. A sleeve should match the specified dimensions and mounting arrangement. Do not use tape, glue, improvised packing, or modified hardware to make an unsuitable sleeve grip. Such additions change the assembly and can introduce imbalance or unreliable retention. Check the replacement abrasive before fitting it; a damaged seam or deformed cylinder is a reason to select a sound part, not something to hope will settle into shape when the motor starts.
Install the matched set
Follow the manual for the required lower support, drum, sleeve, upper washer, and fastener. Some assemblies use different hardware for different diameters, so do not treat one successful configuration as universal. Tightening should follow the manufacturer's instruction; this guide supplies no substitute torque. Excessive force is not a general cure for slipping and may distort components or damage threads. Select the corresponding insert and verify that it sits correctly. The Grizzly G0739 manual gives a model-specific installation example and demonstrates why both sleeve diameter and the supporting components matter.
Check before returning to the workpiece
With power still isolated, complete the manual's prescribed checks for clearance and secure assembly. Remove the wrench and any loose components from the table. Reconnect only after the assembly and surrounding area are ready, then follow the startup procedure with the work clear. Abnormal vibration, scraping, visibly loose abrasive, or unexpected sleeve movement calls for an immediate stop and inspection. Do not use the project itself as the first diagnostic load. A brief normal startup observation is useful, but it does not excuse a missing part or an unexplained fit problem.
Keep the next change straightforward
Store reusable drums and inserts where their sizes and intended relationships remain obvious. Protect unused sleeves from crushing, moisture, and contamination. Record replacement dimensions and the manufacturer's part identifiers so a future order is based on a known fit rather than an approximate visual match. Keep worn and damaged sleeves out of the usable supply. If several operators share the tool, a simple accessory inventory can prevent a missing washer from becoming an improvised repair. Store the parts with their size labels or identifiers so the next operator can rebuild the same approved assembly.
Questions about How to Change a Spindle Sander Sleeve
Can every sanding sleeve use the same washer?
No. The required washers and retaining parts can depend on sleeve diameter and machine design. Follow the exact assembly diagram.
How tight should the spindle nut be?
Use the manufacturer’s instruction for that model. There is no universal torque or rule to tighten until slipping disappears.
Can tape make a loose sleeve fit?
Do not shim an unsuitable sleeve with tape or other improvised material. Use the correct sleeve and diagnose the approved retaining assembly.