guides
Sanding End Grain on a Spindle Sander
End grain appears wherever the sanding surface crosses the ends of wood fibers. On a curved component, the grain orientation can change continuously, so the same pass may move from long grain into end grain and back again. A spindle sander can refine suitable supported edges, but the process should preserve the entire outline rather than force every section to behave identically. Watch the remaining allowance, abrasive condition, and final finish response as the grain changes.
As an Amazon Associate I earn from qualifying purchases. How affiliate links work.
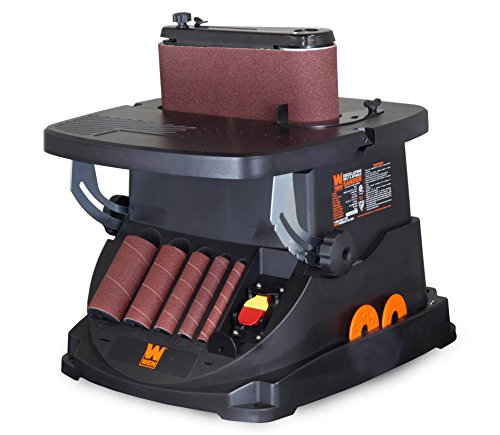 WEN 6524 Oscillating Belt and Spindle SanderCheck Amazon offer
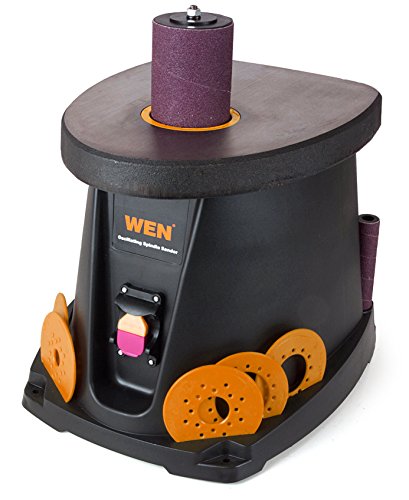 WEN 6510T 3.5 Amp Oscillating Spindle Sander,BlackCheck Amazon offer
Locate the end-grain zones
Before sanding, examine the board's grain and mark which parts of the proposed curve cut most directly across the fibers. These sections may need a different amount of refinement from adjoining long-grain areas. The purpose of identifying them is to improve observation, not to authorize a different unsafe feed direction. Follow the machine's required feed relationship throughout the operation. If a particular section needs selective final work, a suitable hand method may provide better control without changing the fundamental requirements for operating the rotating sleeve.
Leave room for the actual cutting defects
End-grain quality at the sander depends partly on what the preceding cut left behind. Inspect for torn fibers, deep blade marks, and damage near corners. A consistent allowance should permit cleanup without forcing a large change in profile. If torn material extends inside the intended line, the sander cannot restore it. Decide whether the outline can change or the blank should be remade before investing in prolonged sanding. This is particularly important for paired parts, where one local correction can make two otherwise matching components visibly different.
Avoid using adjacent long grain as collateral allowance
When one section needs more work, it is easy to keep sweeping through the whole curve until that section improves. The neighboring areas continue losing material during those passes. Inspect the complete outline frequently and distinguish the area that needs scratch removal from areas already at size. This does not mean dwelling forcefully on a single point. Instead, reassess whether a more selective finishing method or a revised abrasive stage would preserve the geometry better. Keep comparing the difficult section with its neighbors so scratch removal does not change their relative sizes.
Use surface evidence to guide the next pass
Examine the stopped edge in directional light rather than judging solely by touch. Fibers, scratches, and burn marks can have different appearances as the light changes. Remove dust by the approved method before deciding whether the surface is ready. If the abrasive cuts poorly, inspect it for loading or wear. Increasing pressure can disguise a deteriorating cutting surface temporarily while making heat or profile errors more likely. A representative scrap with the same grain orientation is useful when choosing the next step, because a long-grain test alone may not reflect the difficult section.
Plan for finish absorption
End grain can respond differently to a finish from adjacent surfaces, so test the intended coating sequence on matching material. The sanding process should follow the finish manufacturer's preparation guidance rather than a universal claim that all end grain needs one particular final grit. Do not use a finish coat as a substitute for removing visible scratches or correcting an inconsistent outline. A small sample that includes both grain orientations can reveal whether additional preparation is appropriate before the actual component is coated. Keep test results tied to the specific finish system and stock.
Preserve fragile ends and corners
A thin point at the end of a curve may contain short grain and little support. Assess it before machine sanding rather than approaching it as the last unfinished detail. Changing the sequence so more of the blank remains intact can sometimes preserve handling area, but the operation must still be suitable for the tool. Where a delicate tip cannot be controlled with adequate hand clearance, finish it by an appropriate alternative. Leave a remaining mark for that alternative finishing step whenever machine contact would compromise support or bring fingers near the abrasive.
Questions about Sanding End Grain on a Spindle Sander
Can I sand end grain with a spindle sander?
Yes, when the machine permits the material and the work is adequately supported. Plan for changing grain response and preserve the profile.
Should I reverse feed for the grain?
No. Follow the manufacturer’s feed direction. Use a suitable hand method for selective refinement when needed.
Does end grain always need the same final grit?
No. The wood, intended appearance, and finish system matter. Test the preparation and coating on representative scrap.