guides
Prevent Burn Marks When Spindle Sanding
Burn marks during spindle sanding are a signal to stop and reassess contact, abrasive condition, and the amount of material being removed. Do not assume they prove the motor is too fast or the wood is unsuitable. A dull or loaded sleeve, prolonged contact in one spot, and excessive pressure can all contribute to poor results. The useful response is a controlled diagnosis on representative scrap, followed by careful inspection of the project’s remaining allowance before trying to remove the discoloration.
As an Amazon Associate I earn from qualifying purchases. How affiliate links work.
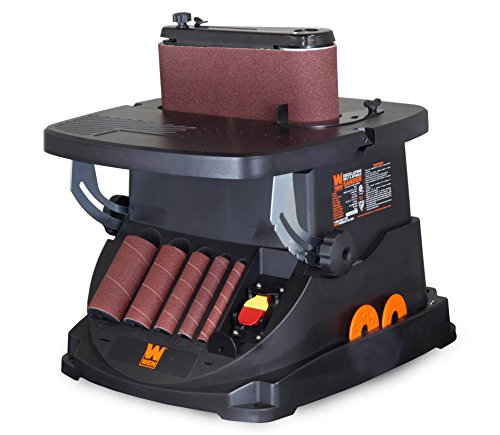 WEN 6524 Oscillating Belt and Spindle SanderCheck Amazon offer
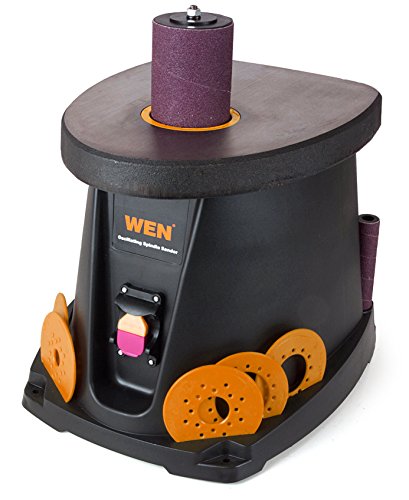 WEN 6510T 3.5 Amp Oscillating Spindle Sander,BlackCheck Amazon offer
Distinguish scorching from other marks
Inspect the stopped edge in good light. A dark area may be heat damage, transferred contamination, resin, or the wood's own coloration. Compare it with an unsanded portion and inspect the sleeve for deposits. Note whether the mark follows a single contact band or appears only where the profile demanded extra work. These observations help narrow the cause. Do not sand repeatedly at the dark spot before understanding it; if the mark is not removable within the dimensional allowance, more abrasion may spoil the shape without producing an acceptable surface.
Inspect the abrasive before changing technique
A sleeve that is packed with residue can rub instead of cutting effectively. Look for glazed areas, heavy loading, tears, and uneven wear after isolating the machine from power. Replace damaged abrasive and use only a manufacturer-permitted cleaning method for reusable sleeves. Check whether the current grit is appropriate for the remaining stock removal. Starting too fine on a heavily saw-marked edge may encourage long dwell times. Starting too coarse near the final outline can create another problem by removing the remaining allowance before the earlier damage is resolved.
Reduce the burden placed on sanding
A rough cut with a large uneven margin forces the operator to spend much longer on some parts of the curve. Improve the upstream cut where possible instead of treating the sander as the primary waste-removal tool. A consistent allowance makes it easier to use a continuous movement and observe the line. On a finished component, however, recutting may no longer be practical. Evaluate what can still be changed without threatening the design. Sometimes the right answer is to remake a poorly prepared blank rather than continue refining a compromised outline.
Keep the shape moving through contact
Concentrating abrasion at one point can both heat the surface and create a hollow. Think of each pass as connecting adjacent sections of a curve. Withdraw and inspect rather than pausing under pressure to decide what to do next. Material, abrasive, sleeve diameter, and machine all affect the workable pace, so a feed rate from another setup may not transfer. A scrap test should establish a manageable technique for that combination. If the work cannot be moved in a controlled supported path, address the handling problem rather than trying to compensate with lighter pressure alone.
Check machine function and sleeve geometry
On an oscillating model, confirm that the expected vertical movement is present. Missing oscillation deserves troubleshooting even if the sleeve still rotates. Also consider whether a very small diameter is concentrating contact on a broad curve or whether the chosen assembly restricts movement inside an opening. Change diameter only within the machine's approved system and with power isolated. Do not install external speed controls, alter drives, or convert the machine in response to a finish problem unless the manufacturer explicitly approves the arrangement. A cosmetic defect does not justify an unsupported mechanical modification.
Decide how much repair is possible
Measure or compare the affected area with the intended outline before removing the mark. Superficial discoloration may disappear during appropriate refinement, but deeper damage can remain after the part is already undersized. Preserve the important geometry and test any finishing approach on matching scrap. A coating should not be assumed to hide an inconsistent edge. Document the successful abrasive and sequence for future parts. Keep those notes with the material and sleeve size so the next batch starts with the sequence that worked, while still checking for changes in stock or abrasive condition.
Questions about Prevent Burn Marks When Spindle Sanding
Why is my spindle sander burning wood?
Possible contributors include loaded or dull abrasive, prolonged contact, excessive pressure, or too much stock left for sanding. Inspect before changing one variable.
Will finer grit stop burning?
Not necessarily. Fine abrasive can increase dwell time when substantial material remains. Match the abrasive to the actual stage of work.
Does oscillation prevent every burn mark?
No. It distributes sleeve contact but cannot prevent damage caused by unsuitable abrasive, excessive load, or dwelling on one part of the work.