models
Oliver 6905: Small Spindles, Tilt and Abrasive Fit
The Oliver 6905 is a cast-iron-table benchtop spindle sander with several unusually narrow supplied spindle sizes. Its configuration is worth examining for detailed internal curves as well as general furniture edges. Ownership requires distinguishing the small clamped spindles from the larger drum assemblies and confirming the abrasive required for each. Oliver's product page and owner manual document those different retention arrangements and the optional 3-inch assembly.
As an Amazon Associate I earn from qualifying purchases. How affiliate links work.
No exact Amazon offer was matched for this model. The listings below are alternative machines to investigate, not this model or guaranteed equivalents.
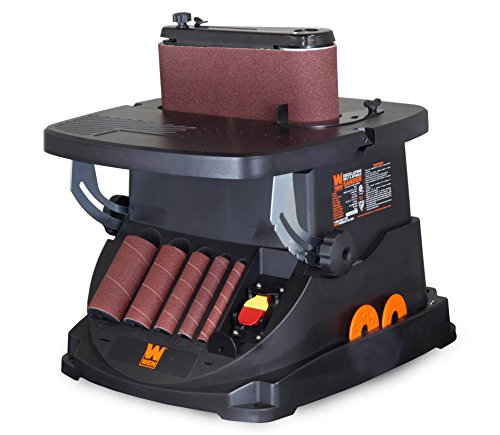 WEN 6524 Oscillating Belt and Spindle SanderCheck Amazon offer
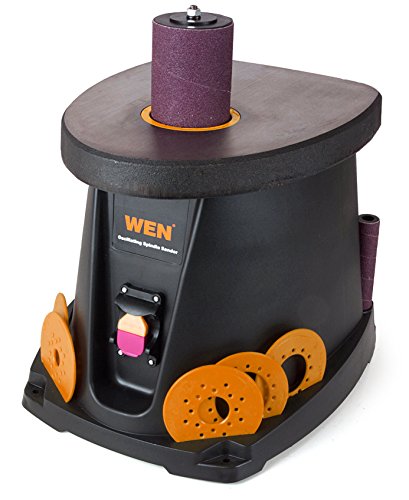 WEN 6510T 3.5 Amp Oscillating Spindle Sander,BlackCheck Amazon offer
Documented specifications for Oliver 6905
| Model | Family | Sleeve height (in) | Diameters (in) | Belt size | Table tilt | Offer |
|---|---|---|---|---|---|---|
| Oliver 6905 | spindle | Not confirmed | 0.25, 0.5, 0.625, 1.5, 2 | None documented | 45° | No exact offer matched |
- Machine weight
- 75 lb
- Documented spindle speed
- 1720 RPM
- Dust port
- 2 in
Product page 6-inch dimensions are labeled spindle sizes; universal sleeve height not established.
3-inch spindle and insert optional for 6905.001.
2-inch dust port with 4-inch adapter listed.
Small and large assemblies use different sleeve-retention systems.
Current US product page identifies stock 6905.001, a 115V-only 7.5A motor, 15/16-inch stroke and 17 x 17 x 21-inch overall dimensions.
Small-diameter access is a specific capability
Oliver lists supplied spindle sizes of 1/4, 1/2, 5/8, 1-1/2 and 2 inches. That includes smaller access options than the half-inch minimum found on many compact machines. A narrow assembly can reach a restricted internal shape, but the work still needs room for safe guidance and a supported reference face.
For a small decorative cutout, think through how the piece will be held before deciding that the smallest drum solves the problem. An opening that barely admits an abrasive may not allow enough movement to follow the curve. Choose a different technique if the part cannot be controlled with hands clear of the moving surface. Very small contact areas also remove material locally, so a light touch and repeated checks against the intended profile become especially important.
Sleeve retention differs across the spindle set
The Oliver manual describes clamp screws for the 1/4-, 1/2- and 5/8-inch assemblies, and a different nut-retained arrangement for the larger drums. Its maintenance instructions require removing the spindle before changing sleeves. Those distinctions matter when selecting replacement parts or diagnosing why an abrasive will not hold securely.
Keep the individual assembly instructions beside your abrasive inventory. Do not transfer the tightening direction or retention method from one spindle to another by habit. Inspect the relevant clamp, nut and support surface while power is disconnected. A sleeve that appears dimensionally correct still needs the right retention arrangement. If an aftermarket supplier offers a complete assembly, request explicit model compatibility rather than assuming that an identical sanding diameter proves it will mount correctly.
Separate spindle length from confirmed sleeve length
The product specification describes the supplied spindle sizes as diameter by 6-inch length. That is not automatically proof that every loose abrasive sleeve should be ordered at exactly 6 inches, especially with differing clamping methods. Use the individual assembly and abrasive part information to establish sleeve length; there is no confirmed universal replacement height here.
This distinction avoids a common ordering error: copying the overall assembly dimension into a consumable shopping list. Measure an existing correct sleeve and compare it with the manual or manufacturer replacement listing. Check how much of the sleeve is engaged by clamps or plates as well as the usable sanding region. An abrasive that is too short may not be retained correctly; one that is too long can interfere even if its diameter is right.
A tilting cast-iron table supports bevel work
Oliver specifies a 14-1/2-inch-square table with zero-to-45-degree tilt. For a shaped bevel, establish the angle using an appropriate gauge and verify it on scrap after locking the setting. Mark the reference face on every component in a matched set so the table relationship remains consistent.
A curved bevel combines two tasks: following the plan-view profile and maintaining face contact against the inclined support. Watch both. If the reference face rocks, the edge can develop a varying angle even while the pencil line looks accurate from above. Check several points along the curve, particularly where grain direction changes. For a mating surface, compare against the actual mating geometry rather than judging only by an even-looking bevel width.
Plan dust connection and bench capacity together
The current US product page identifies stock number 6905.001, a 115V-only 7.5A motor, 1,720 RPM, a 15/16-inch stroke and 17 by 17 by 21-inch overall dimensions. It also lists 75 pounds net weight and a 2-inch dust port with a 4-inch adapter. These values help plan a US installation; they should not be transferred to a differently plated machine, and the presence of an adapter does not guarantee effective capture through a particular hose run.
Provide stable mounting, support the hose and leave clearance to access stored spindle assemblies. A bench corner may appear convenient until a long component needs to rotate past the wall. Rehearse representative work with the machine off, including the largest inside curve and any beveled part. Keep the dust fitting outside that sweep. For repeated work, store abrasives by spindle type so the right consumable can be selected without interrupting the entire setup.
Decide whether the optional 3-inch assembly matters
Oliver sells a 3-inch spindle and table insert specifically for model 6905.001. Treat those as a matched accessory purchase rather than assuming a bare drum is sufficient. The larger diameter is worth considering for recurring broad concave profiles, where a less concentrated contact patch can help you blend the curve.
For occasional wide-radius work, first assess whether your existing assemblies provide adequate control. The useful upgrade is the one that addresses an actual handling problem. Keep the investment in perspective alongside abrasive stock, extraction and mounting: an additional spindle will not compensate for worn sleeves or a setup that makes the work difficult to support.
Questions about Oliver 6905: Small Spindles, Tilt and Abrasive Fit
Does Oliver 6905 include a 3-inch spindle?
The listed supplied set stops at 2 inches. Oliver offers a separate 3-inch spindle and insert accessory for 6905.001.
Are all the spindle clamps operated the same way?
No. The manual distinguishes small clamp-screw assemblies from the larger nut-retained drums. Follow the instructions for the specific spindle.
Can I order every sleeve using the 6-inch spindle dimension?
Do not treat overall spindle length as proof of universal abrasive length. Verify the correct sleeve for each assembly before ordering.